16.12.2025
How to Photograph Whisky: Light, Mood and Story
How to Photograph Whisky: Light, Mood and Story
1. Whisky as the Protagonist
A great whisky photo doesn't simply show a product — it tells its story.Instead of focusing solely on the label, think about the spirit's personality. Is it a smoky Scotch with a hint of peat, or a smooth, honeyed bourbon?
That character should be visible in the frame. Warmth, ruggedness, elegance — each whisky has its own temperament, best expressed through color, texture, and light.
Tip: Treat whisky like a portrait subject — with mood, emotion, and presence. Let it speak, rather than just shine.
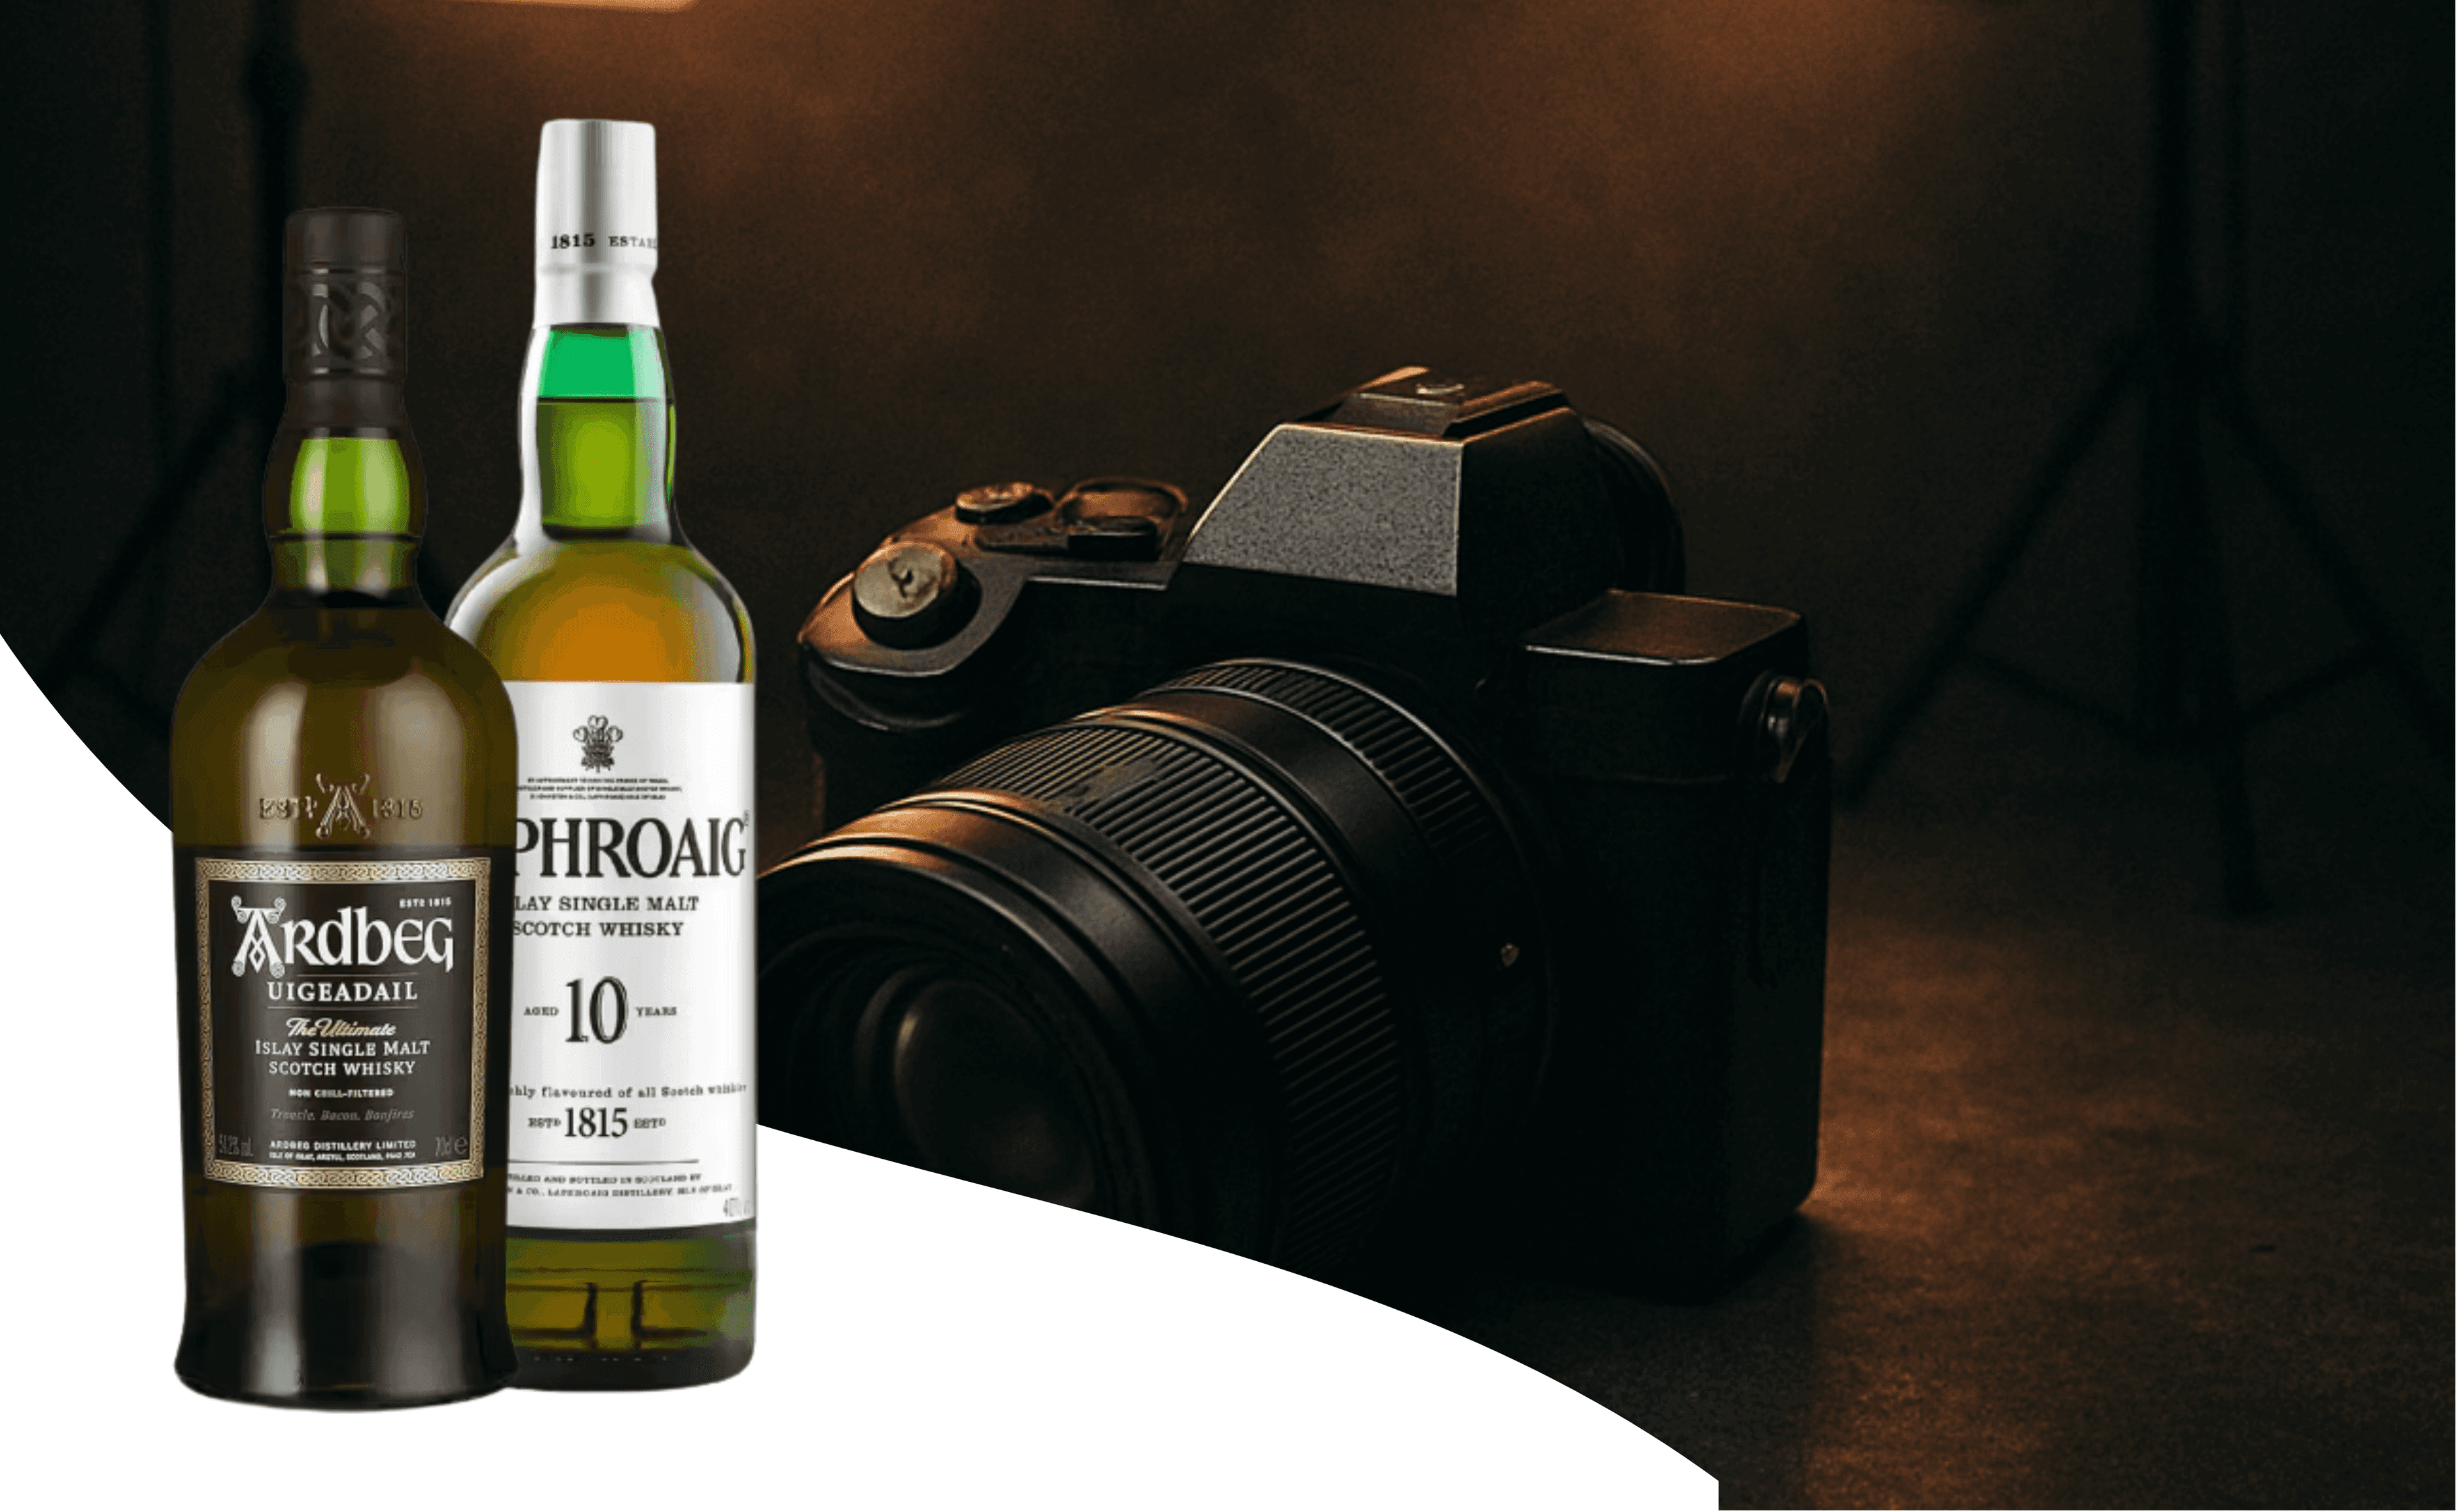
2. Light – the Key Ingredient of Whisky Photography
Whisky is light in liquid form.Natural light — especially in the morning or late afternoon — beautifully brings out its golden hues and soft reflections. Artificial lighting, on the other hand, gives you full control over direction and color temperature — perfect for studio work.
Warm, amber-toned lighting emphasizes the depth and glow of the whisky, while light that's too cool flattens the image and drains its spirit.
Pro tip: Position your light source slightly behind and to the side of the glass — this way, the whisky will glow with transparency and life, without distracting reflections on the glass.
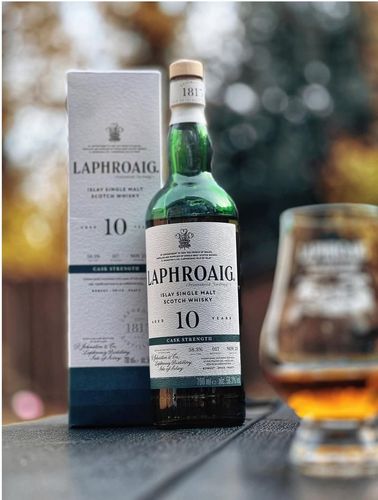
3. Background, Textures, and Atmosphere
Whisky feels most at home in a natural setting. Wood, smoke, linen, leather, or dark stone — these textures add authenticity and richness.Add subtle contextual details: an ice cube, a cigar, a barrel, or candlelight. These elements shape the atmosphere of the image.
And don't be afraid of shadow. It builds depth and mystery — and whisky, by nature, thrives in the half-light.
Tip: Forget perfection — embrace small imperfections like a wisp of smoke or a droplet on the rim. They bring your photo to life.
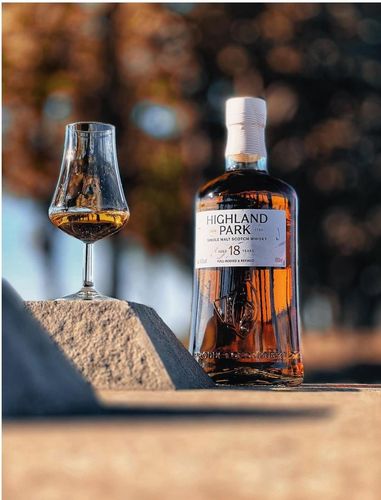
4. Composition and Gear
You don't need a high-end camera to capture whisky's essence — but a few rules help.Low-angle shots (at glass height) convey power and presence.
A focal length between 50-85mm keeps proportions natural and flattering.
Pay attention to white balance — too cool, and you'll lose the warmth that defines whisky.
Use a shallow depth of field (around f/2.8–f/4) to make the glass and liquid sharp while softly blurring the background.
Pro tip: Try capturing light reflections off the liquid's surface — it often looks like molten gold.
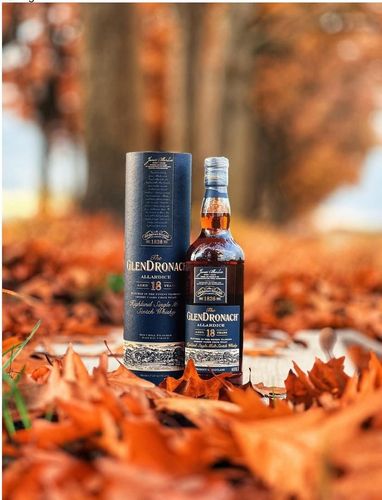
5. Storytelling Through a Single Shot
Every whisky photograph can tell a story — of taste, of a moment, of a person.A shot with a wooden table and notebook speaks of tasting notes.
By a fireplace — it's about rest.
In a dim bar — connection and conversation.
Whisky isn't static. In every frame, something happens — steam rising from ice, a flicker of flame, the shadow of a hand.
Those subtle moments make the viewer feel the flavor before they've even taken a sip.

In summary:
Whisky photography is a play of light, texture, and emotion.
It's not about the perfect product shot — it's about capturing the moment when whisky lives: when it gleams, breathes, and tells its story.
Because a fine whisky, like a great photograph, lingers long after the moment has passed.
About the author

Damian Baran
I am in love with the world of whisky since 2021 after the first films about testing and discovering flavors. the story began with a bottle of Talisker 10, earlier of course brands such as glendifich or johnie walker appeared but it was Talisker that opened my eyes to the diversity of flavors and scents. currently with over 800 whiskies tried and head over heels in love with the climates of islay. finds his flavors in bottles such as ardbeg or lagavulin but I also willingly reach for peated whiskies such as glendronach sweet fruity climates of Speyside.
To the author